Getting ready for an exterior painting project can make a world of difference in the finished look of your house. Whether you’re looking to freshen things up or completely change the colour, doing some groundwork beforehand is key. Painting isn’t just about picking up a brush and colour. Before jumping into a project, especially one exposed to Redcliffe’s unique weather patterns, it’s vital to prepare properly.
Proper preparation means attending to various tasks that ensure the paint job looks great and lasts a long time. Without this prep work, even the best paint can struggle to hold up against the elements. Redcliffe’s weather is known for its intensity, from sunny days to wet ones, and each of these can affect how your paint adheres and endures over time. Understanding these conditions ensures a finish that looks professional and lasts longer.
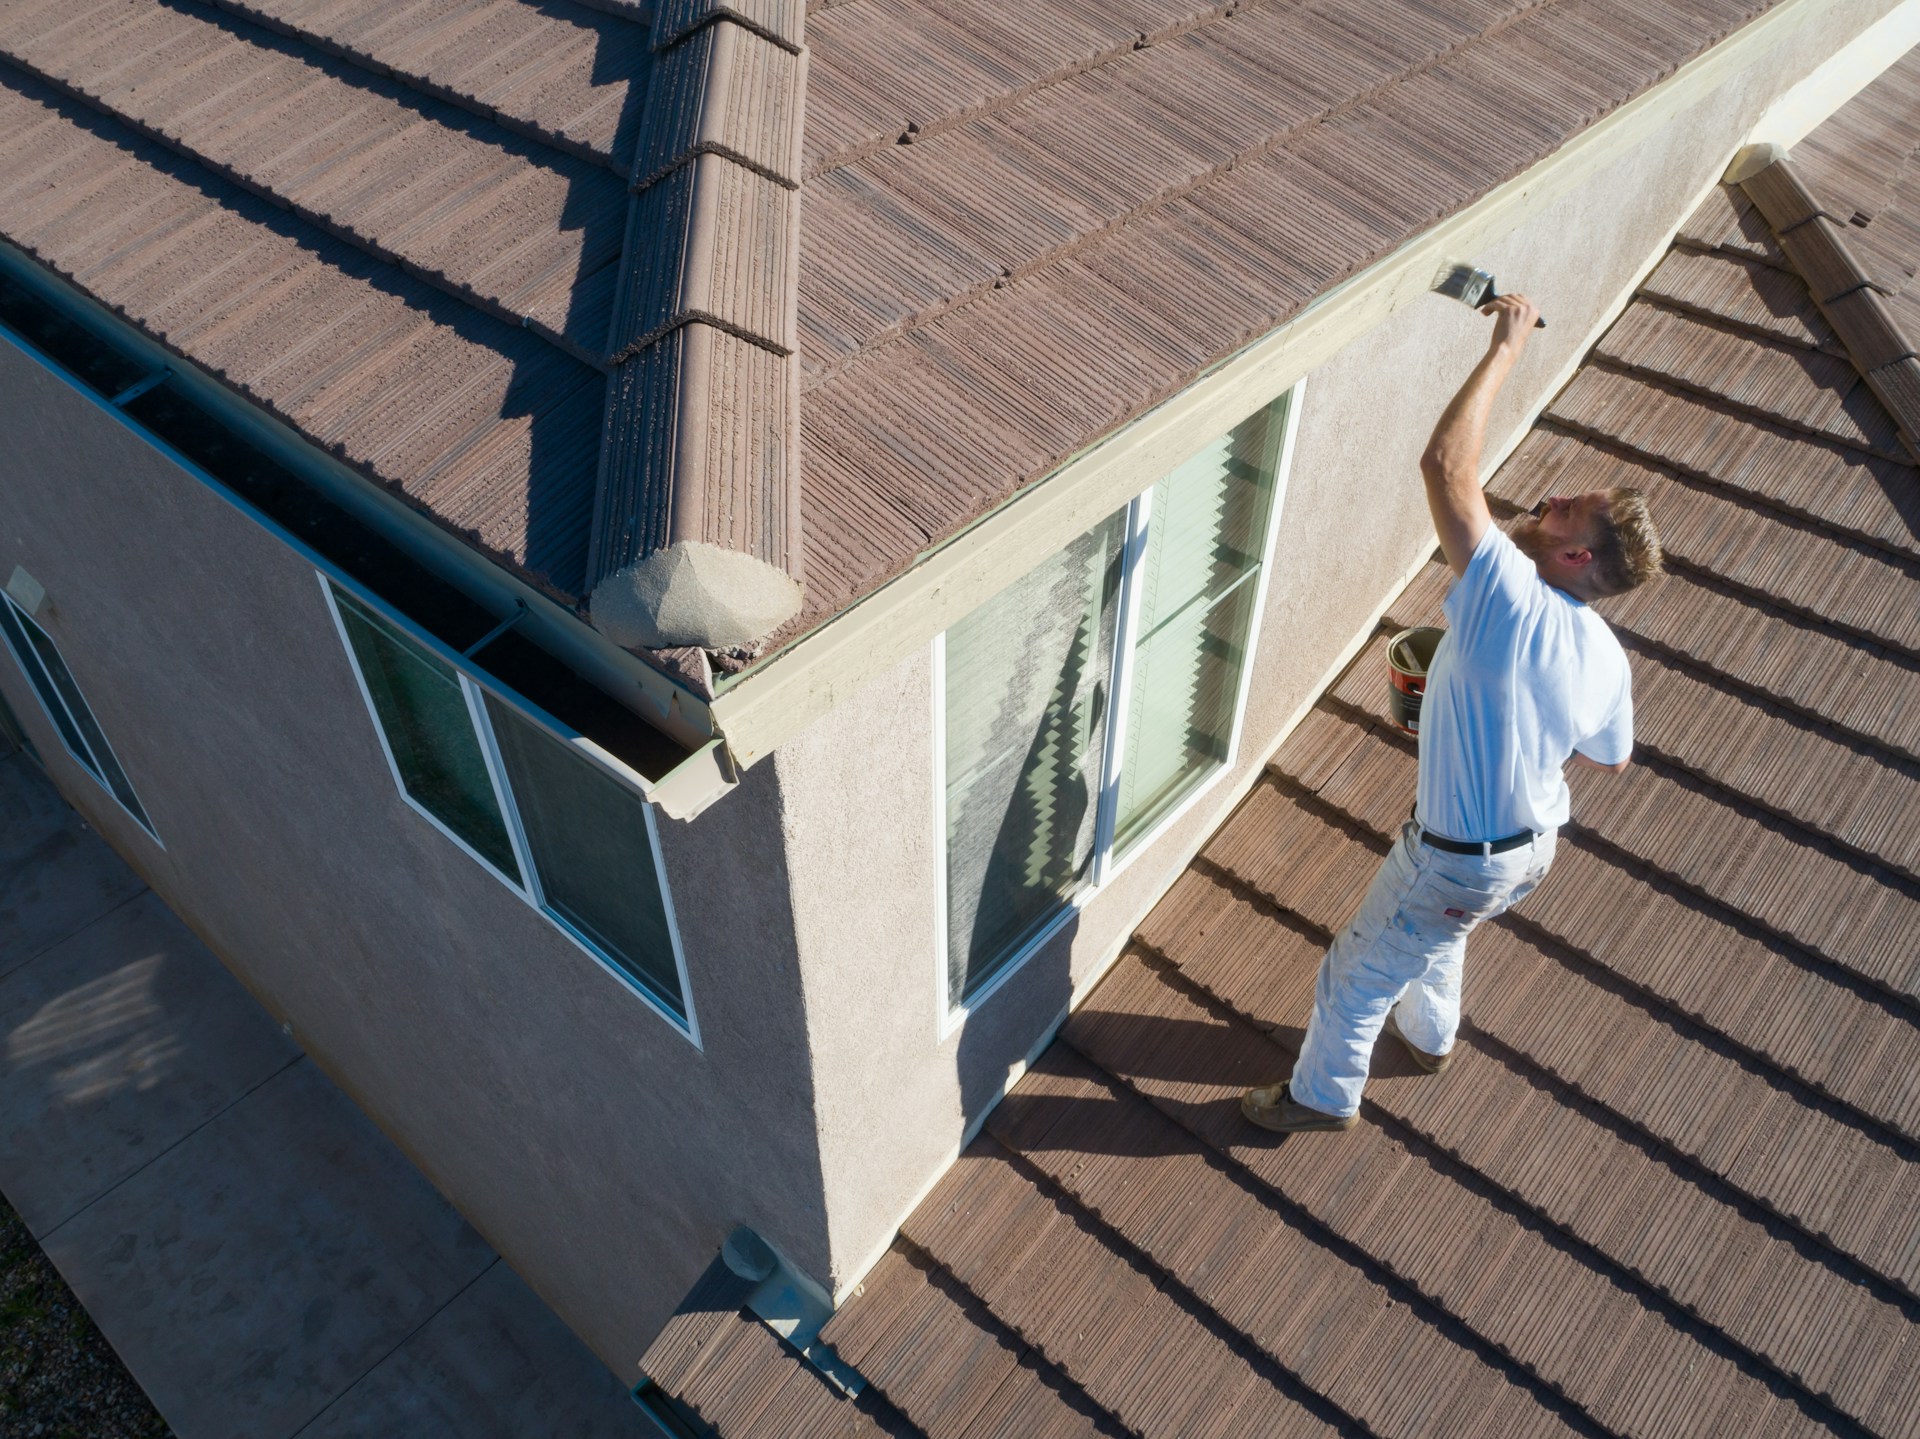
Assessing the Surface
Before the paint gets anywhere near your home’s exterior, it’s crucial to check the surface. An initial inspection helps identify issues that need addressing to avoid ruining your fresh coat of paint. Look for these common problems:
– Cracks: Inspect walls for cracks that could weaken the structure. These could lead to paint chipping later on.
– Peeling Paint: Peeling or flaking paint indicates past problems, possibly due to moisture or improper application.
– Mildew: Mildew thrives in humid conditions. Its presence not only affects aesthetics but also can lead to health concerns.
Once you’ve noted these issues, it becomes easier to handle them effectively. For cracks, filling and sanding will provide a smooth surface. Peeling areas should be scraped off and sanded down to ensure new paint sticks properly. Mildew must be scrubbed away carefully, and the surface treated with a mildew-resistant solution.
Consider this: like checking under the bonnet before a long drive, this inspection ensures you’re ready for a smooth painting process. Fully addressing these issues at the start saves you potential headaches down the road and helps ensure a striking, durable finish.
Cleaning and Sanding
Once you’ve addressed any serious issues with the exterior surface, it’s time to clean it thoroughly. Cleaning serves to remove dirt, grime, and other debris that can affect paint adhesion. Begin with a gentle scrub using a soft brush and a mild detergent solution to rinse away accumulated grime. Pay special attention to corners and around fittings where dirt tends to settle.
After washing, allow ample time for the surface to dry completely before proceeding to the next step. Sanding follows cleaning, ensuring a smooth, even surface for painting. This step helps the new paint to bond effectively, reducing the risk of peeling in the future. Use a medium-grit sandpaper to lightly sand the walls, focusing on rough patches or previously peeling areas. Ensuring an ideal texture now will support a flawless finish later on.
Repairing and Priming
Repairing any cracks or holes before painting is necessary for a polished outcome. Use a suitable filler to patch up holes or cracks, ensuring the filler is level with the rest of the wall. For larger or deeper cracks, you may need to apply filler in layers, allowing each layer to dry properly before adding the next. Sand these areas again to achieve a uniform surface.
Applying primer is the last stop before painting. Primers act as a base, helping the paint to adhere properly while enhancing the finish and longevity of the paint job. Choose a primer that suits Redcliffe’s coastal climate—a region where moisture can periodically impact homes. A high-quality primer will provide a layer of protection against the elements. Apply it evenly, making certain no areas are missed.
Protecting Surrounding Areas
Start by shielding parts of the house not meant to receive paint. Use painter’s tape to cover window frames, door handles, and other fixtures. A good tip is to apply the tape carefully to avoid any gaps or bubbles that might let paint seep through.
Drop cloths come in handy here. Spread them over walkways, flowerbeds, and any other areas that may catch splashes. Lightweight plastic sheets are great for covering larger areas quickly but ensure they’re secured to prevent being blown off by the wind. Proper protection at this stage can save you a lot of hassle in cleaning up post-paint.
Exterior Paint Prep Steps for Perfect Results
Taking the necessary steps before beginning the painting may seem tedious, but these measures guarantee a more satisfying and lasting result. By assessing, cleaning, repairing, priming, and protecting, you enable your home’s exterior to stand strong against both time and tide. This diligence reflects not just on the appearance but on the value and integrity of the dwelling itself.
While it’s possible to tackle a painting project solo, collaborating with professionals can simplify the process and perfect the finish. They bring the expertise and tools to handle unexpected challenges and achieve the desired outcome efficiently. Whether for touch-ups or a complete overhaul, a well-prepared exterior makes every brushstroke count, producing a fresh look that complements your home beautifully.
For a seamless and lasting finish on your home’s exterior, working with professionals can really pay off. Given Redcliffe’s changing weather, getting expert support ensures your paintwork holds up over time. At Perfection is Possible Painting, we provide reliable, high-quality service tailored to your property’s needs. Learn how we can help with exterior house painting in Redcliffe by getting in touch with us today.